
© Tillypad, 2008-2015
Windows used for managing directory contents:
All of these windows are opened from the directory data grid.
To open the editor window, use the command. In this window, you can edit one or more IDs.
If one record is selected in the data grid, the editor window will open. The window is composed of the Properties and Access panels.
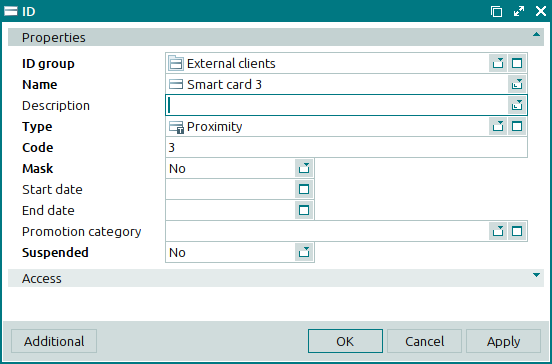
The Properties panel is composed of the following fields:
ID group is the group that contains the ID. This is a required field.
Name is the name of the ID. This is a required field.
Description is a text description of the ID.
Any additional information can be entered in this field.
Type denotes the type to which the given ID belongs. This is a required field.
Code is the ID code. This is a required field.
You can enter the code manually or read it using a special reading device. To input the code automatically, scan the ID using an ID reader. This will enter the ID code in the Code field and the ID type in the Type field.
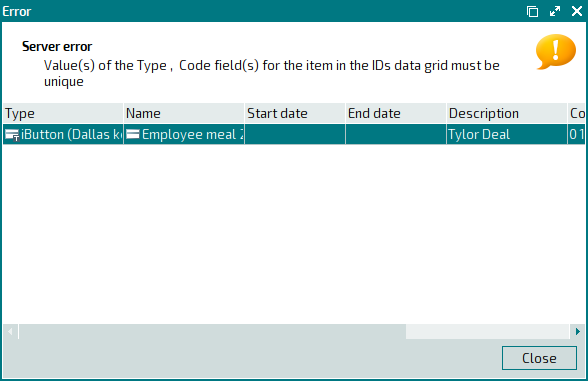
The codes of IDs of the same type must be unique. If you try to create or edit an ID of a specific type with a non-unique code, an error message will appear.
Mask is an attribute to indicate whether or not an ID mask is applied. This is a required field.
Masks determine the comparison rules for ID codes. Comparisons are run, for example, when searching for an ID via its code.
Please choose between Yes and No.
If you select No, the system will search for the code exactly as it is written for the ID. If you select Yes, the system will check whether the entered or scanned ID code corresponds to a mask.
Using a mask allows you to represent multiple similar IDs using a single entry in the directory. You might find this useful when implementing partner system discounts. Using masks will help you to avoid having to enter the details of all IDs issued by the partner company; instead, you will only need to create a common mask.
Start date is the start date of the ID’s validity period.
End date is the end date of the ID’s validity.
Promotion category is a promotion category allocated to the ID bearer.
Suspended is an attribute showing that the ID has been suspended within Tillypad XL. This is a required field.
You can choose between No and Yes. Selecting Yes will disable the ID.
Click to save data. Selecting will save data without closing the window. Selecting will close the window without saving data.
When two or more IDs are selected for editing, the multiple editor window will open.
The name of the editor window changes to . A panel with a list of the selected items is added to the editor window.
The panels and fields are similar to those in the editor window.
The entry window is used to add one or more new IDs to the directory.
You can open the entry window by using the command or by pasting an ID from the clipboard.
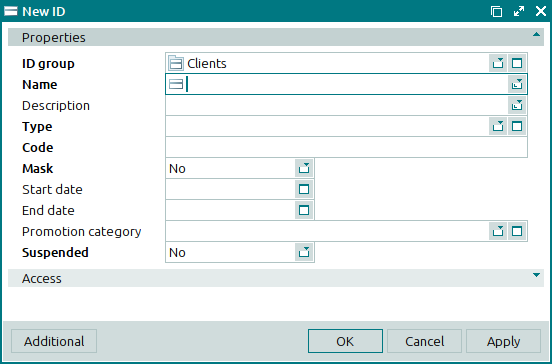
The panels and fields are similar to those in the editor window.
Note
If a previously deleted ID is reentered into the system, its details can be restored. The system will recognize it as having been deleted and will open a restore confirmation prompt.
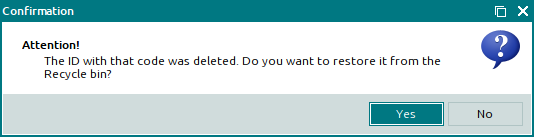
Pressing will close the confirmation prompt without restoring the ID.
Pressing will close the confirmation window and restore the ID with its previously entered attributes.
You can open the entry window by pasting two or more IDs from the clipboard.
The panels and fields are similar to those in the editor window.