© Tillypad, 2008-2015
The main window of the program opens when you start the program and closes when you quit it. If you change the database connection parameters (user, database, or port number) while working, the main window of the program will also close.
You can perform all necessary operations from the main window: manage directories and lists, receive and view reports, configure the system, etc. Work windows will open to execute these operations.
The main window is composed of the following elements:
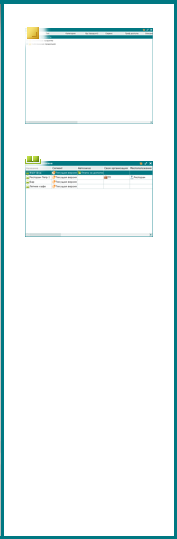
Main window header

The header of the main window appears at the top of the window. The header displays the logo of the Tillypad XL system, the pin panel button  and a set of standard buttons
  .
.
To expand the main menu, press the logo; to expand or collapse the pin panel, press the button. You can also open the main menu by pressing the Alt key on the left side of the keyboard; the pin panel is opened by the right Alt key.
Standard buttons allow you to minimise or maximise the main window or quit the program (close the main window).
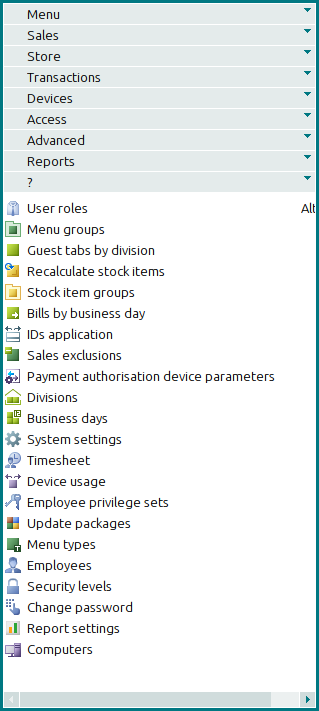
Main menu
From the main menu, you can open the program’s work windows.
For your convenience, the commands in the main menu are joined into groups, which match the subsystems (sections): , , etc. The groups of commands in the main menu can contain subgroups.
Any component of the system that is available to a given user can be opened from the main menu by selecting the corresponding option. This will open either a viewing window or an operation window. If the window needs to filter data before opening, the filter wizard window will be launched first.
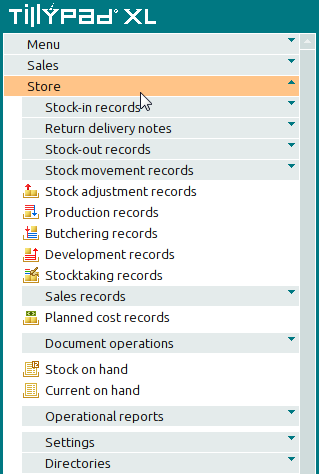
All sections have a uniform order in which menus and commands are listed:
Menu/commands to manage documents,
Menu/commands to perform operations on documents,
Menu/commands to manage operational reports,
Menu/commands to configure settings (to manage settings directories),
Menu/commands to manage directories.
The structure of the main menu and the list of its commands are determined by the developer. The user can augment the main menu by adding his or her own menu - . You can place your most frequently used commands here. These commands can be joined into groups according to your preferences. The names of the commands in this menu can also be defined by the user.
Which commands will appear in the main menu depends on the access settings of the user.
Below the main menu groups you will see the history of selected options, i.e. the commands that have been selected recently in the main menu. This list allows you to quickly select the most frequently used commands from the main menu.
The command selection history is generated automatically and is not cleared when you exit the program. It has a fixed length; therefore, more recent commands push out older ones.
Workspace
In the workspace you can open: the main menu, the pin panel and all work windows of the program.

Main window borders
The borders of the main window determine the size of the workspace of the main window. Work windows can be moved around within the workspace. If a work window is moved beyond the boundaries of the main window, only the part of it within the workspace remains visible.
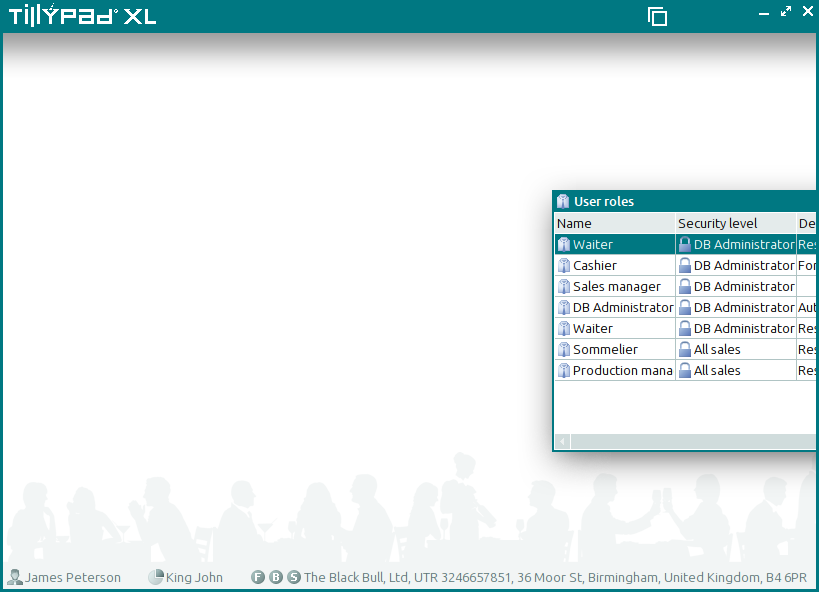
Status bar
The status bar displays information about the connection of the program to the database: the name of the user who started the program, the name of the segment, details about the licence used by the program, and the current state of this licence.

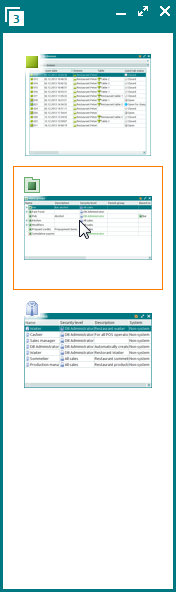
Pin panel
The pin panel helps the user select the work windows or object windows that are most important for him/her. Hereinafter both types of windows are referred to as windows.
The pin panel allows you to quickly open the pinned windows. When you exit the program, this panel is cleared.
You can pin a window on the panel by using the  button located in the window header.
If one or more windows have been pinned to the pin panel, the button displays the number of pinned windows  .
.
To pin a window on the , you can also use the (Ctrl+F2) command from the context menu of the window header. At the same time, the window will close in the workspace.
If you want to add the window to the pin panel and still leave it open in the workspace, use the (Shift+Ctrl+F2) command in the header of the given window.
You can hide or show the pin panel by clicking the icon in the main window header or by pressing the right Alt key. To hide the pin panel, press Esc.
To navigate to a previously opened window, simply select it on the pin panel. If you need to view two or more windows at the same time, press and hold the Ctrl key and click the necessary windows.
When you hover your mouse over a window in the pin panel, its preview is displayed in the workspace of the main window. To actually open a window from the pin panel, you need to click on it. By moving the cursor over the thumbnails in the pin panel (or by pressing the Up and Down arrows when the panel is open), you will subsequently display the corresponding window previews in the main window. The thumbnail of the window that is currently being previewed is enclosed in a frame.