
© Tillypad 2008-2014
To start working with a directory, first open it from the main menu.
For example, here is the location of the directory: - - .

This will open the directory window.

The viewing window of each directory contains a data grid. It also may contain a filter panel.
The data grid may be empty if none of the items it contains are available to the given user.
Some data grids have a tree structure. For example, the directory window contains a tree list of stock items and their groups. Stock item groups are the nodes of the tree list; they can be expanded or collapsed. Each stock item group can contain both stock items and stock item subgroups.
In data grids, you can carry out operations on data grid items, i.e. you can view, add, edit, delete items, etc. Each operation has a matching command in the context menu, which can be opened by right-clicking.
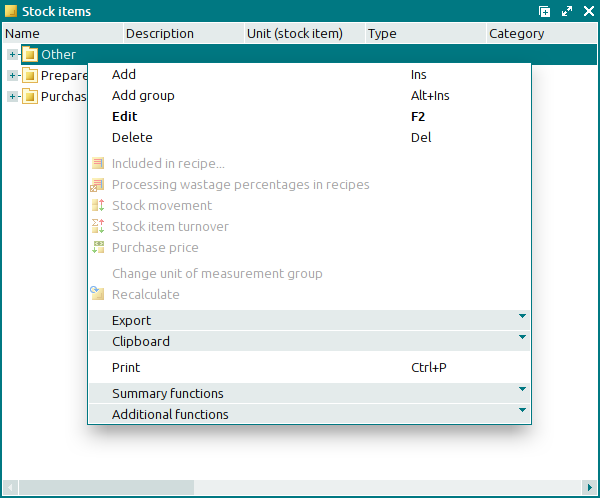
To perform an operation, select an item (or multiple items of the same type) in the data grid, open the context menu and click on the corresponding command. The most frequently used commands can also be selected by their hotkey combinations. When you select data grid items of different types (e.g. a group and an item), you can only delete them together; simultaneous editing is not allowed.
Here is an example of how to add an item to the directory. You can add an item by using the command from the context menu:

This will open an entry window:
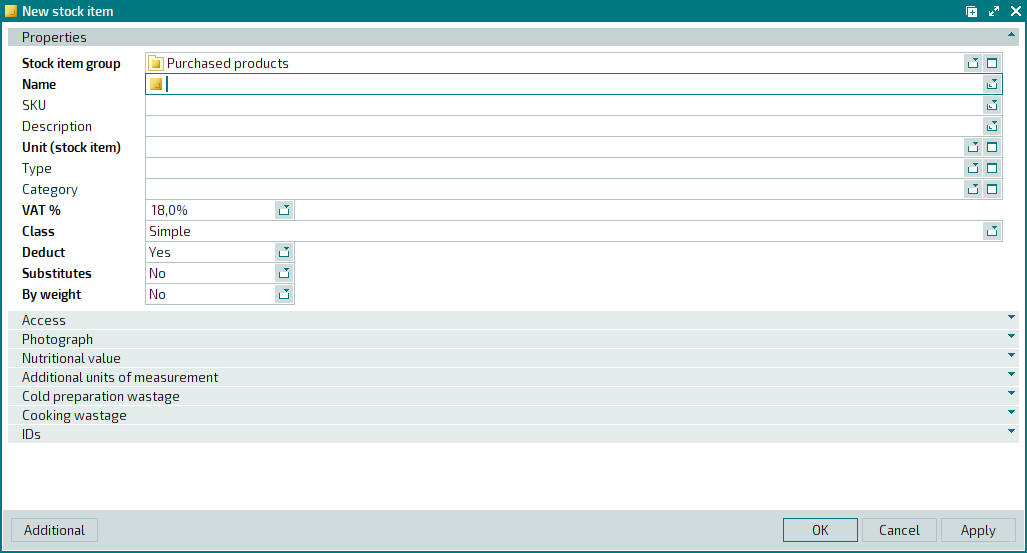
Some fields in this window are populated with default values. These values can be changed as long as the field is not read-only.
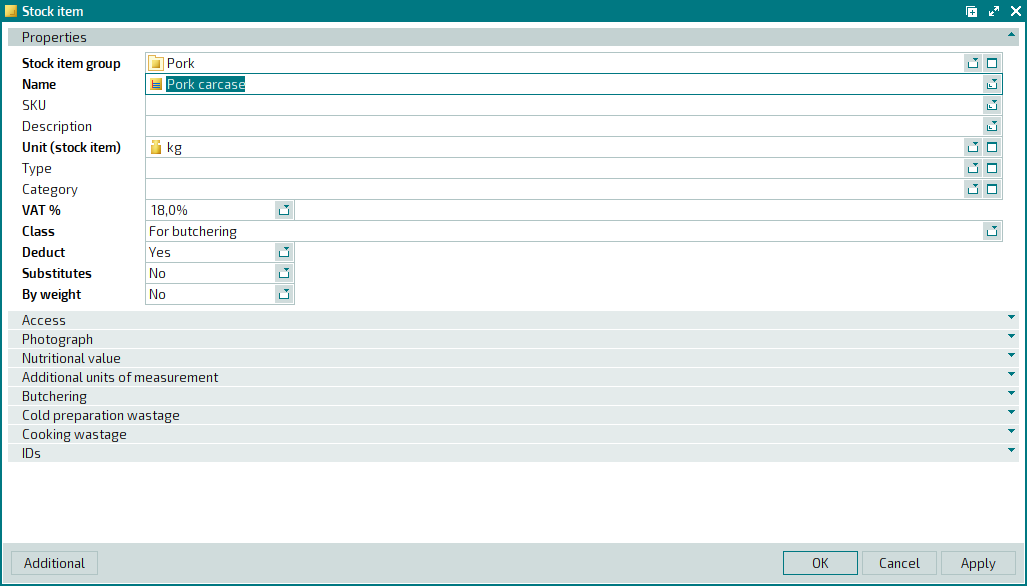
Depending on the value selected in the field, additional panels may be added to the window. For example, if the Class field in the stock item window contains the With recipe option, the window will receive the following additional panels: Recipe and Preparation instructions . However, if you select For butchering in the same field, the Butchering panel will appear in the window.
Depending on the type of data, the window may contain the following types of fields:
Text field – for text input.
Numeric field – for numeric data input.
Combo box – for selecting an option from a list that drops down after you press the Open list button
 . Drop-down lists are created by the developer and contain complete lists of possible values.
Selection box – for selecting a value from the data grid of another directory (or from two or more different data grids). The selection box contains a selection button
 and a button to open the list. The drop-down list contains the command, and sometimes also the (empty) option or a list of previously selected values. You can select a value from the selection window or from the list of previously selected values. In the selection box, you can also enter symbols and then select values from the shortened drop-down list, which has now been filtered by these symbols.

To clear the selection box, select the (empty) option. This option is present in the lists of optional (non-required) selection boxes.
![]()
Items of some data grids can contain one or more , e.g. the list of additional parameters and the list of surveillance objects for a given device. Each specification in the item window is located on a separate panel.
A specification serves as a data grid. Specification items can appear as a tree list.

For more information on possible operations in the data grids, please refer to the above.