
© Tillypad 2008-2014
Objects of the system (items of the same directory, document list, settings directory, etc.) can be saved as a file or added to the update package.
When you export objects to file, only items of the same kind are saved. For example, only export menu types can be exported from the directory. If the exported object is derived from another object, these objects are uploaded to the file together. In this case, the exported object can be called the main object; the derived object on the other hand is considered to be an additional object. For example, a device inherits attributes of another device, which in turn is inherited from the software module.
The update package can contain different kinds of objects. The objects are added to the package along with their connected additional objects.

Export objects to file
Objects of the same directory can be exported to an external file. However, if the attributes of the object are inherited from another object (item of another directory), both the main object and the associated additional objects are uploaded to the external file. For example, the print layout of the report is inherited from the print layout of the software module print format. In this case, when you export the report (main object), the print layout of the software module print format (additional object) will be exported as well.
Selecting the command from the menu opens the filter wizard.
In the first step of the wizard, you select additional objects that will be uploaded to the file along with the main object. The window displays a tree list of objects to be exported.

Context menu of list items:
(F8) – includes the selected item and all its child items from the list to the export file.
(F7) – excludes the selected item and all its child items from the export file.
– includes all items from the list to the export file.
(Ctrl+P) – generates print layouts.
– menu with the commands to manage the summary functions of the data grid.
– menu with the commands to operate the data grid.
After you select required dependencies and press the button, the next filter wizard window will open. In this window, you can select which values will be assigned to the System attribute of the exported objects.

The System drop-down list contains the following commands:
Do not change – uploads items to the export file with the same values in the System attribute as those in the data grid.
Yes – uploads all items to the export file as system items.
No – uploads all items to the export file as non-system items.
Pressing the button opens the standard window where you can save objects to the import file.

Items that were saved this way can be re-imported to the database using the command from the menu.
Adding items to the update package
When you add the selected objects to the update package, the window opens.
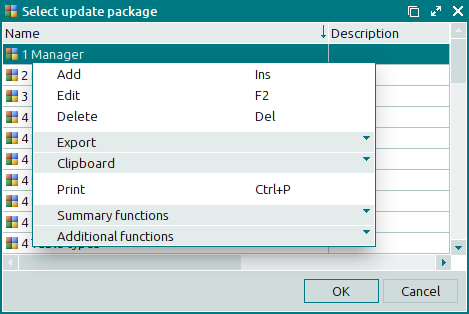
After you select the necessary update package and press , the selection window closes.
The selected objects are added to the update package only if they do not exist there already. No additional messages will be displayed when you attempt to add objects that have already been added to the update package.