© Tillypad, 2008-2015
Each table must belong to a table group.
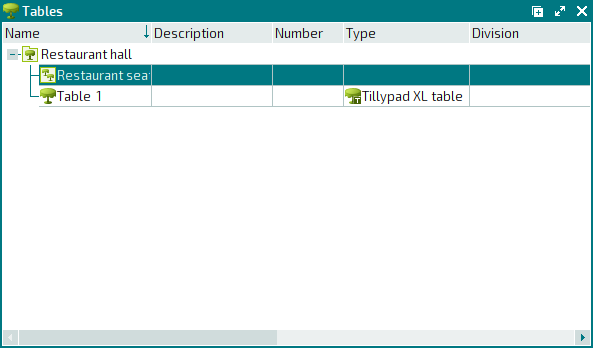
For our example, you need to create a table group (Restaurant hall) in the directory and add a table (Table) to this group.
Open the directory from the main menu: – – .
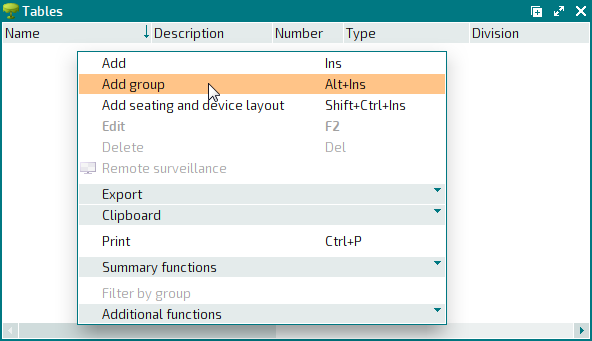
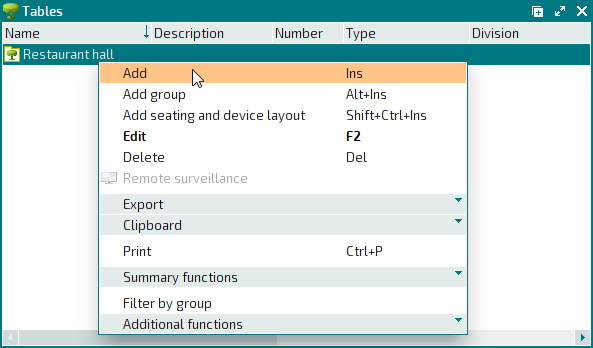
Select the command from the context menu.
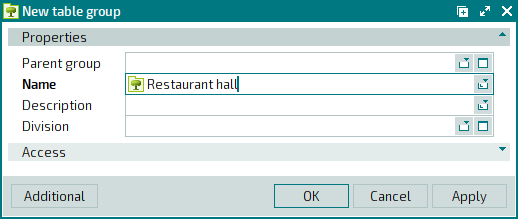
The table group entry window will open. Fill out the required field in the Properties panel.
Enter the name of the table group (Restaurant hall).
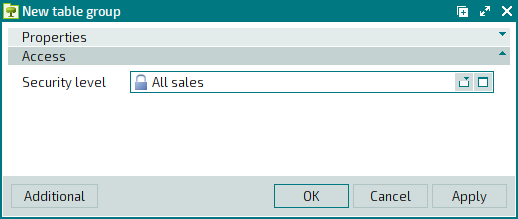
The security level on the Access panel is inherited from the system settings. To change it, open the selection window from the Security level field and select another value (All sales).
Save the data by pressing or . This will add the table group to the directory.
To add a table, select the added group (Restaurant hall) and choose the command in the context menu.
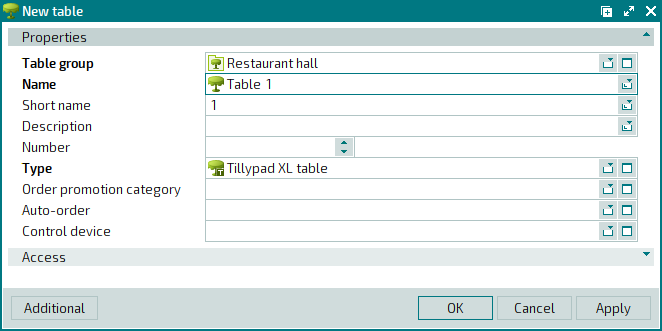
The table entry window will open. Fill out the required fields in the Properties panel.
Enter the name of the table (Table 1). To identify a table on the seating layout, it is recommended that you enter its short name (1) as well.
Indicate the table type: open the selection window from the Type field and select a value (Tillypad XL table) from the data grid.
In our example, you do not need to enter auto-orders and provide discounts according to promotion categories in the guest tabs opened for this table. This table does not have a control device. Therefore, you do not need to fill out the other fields.
The security levelAccess on the panel is inherited from the system settings. To change it, open the selection window from the Security level field and select another value (All sales).
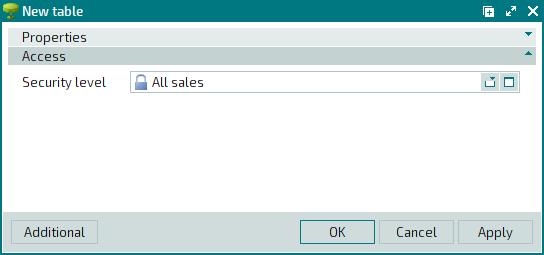
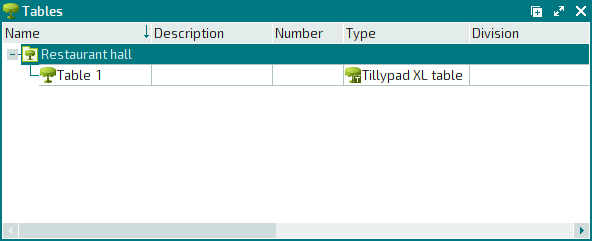
Save the data by pressing or . This will add the table to the directory.
To make the table (Table 1) available for selection in
mode, create a seating layout that will include this table and add it to the directory.
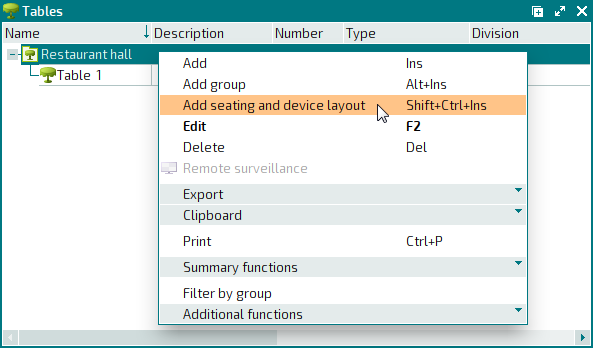
To add a seating layout, select the added group (Restaurant hall) and choose the command in the context menu.
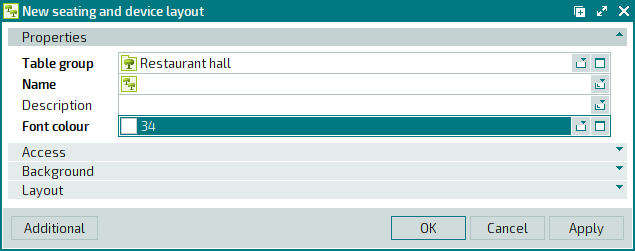
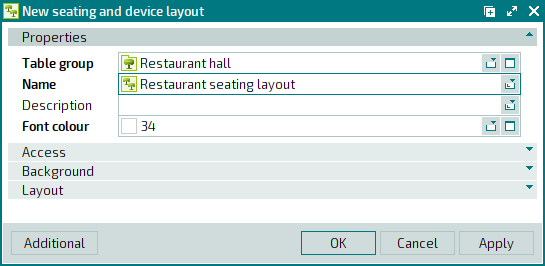
The seating layout entry window will open. Fill out the required field in the Properties panel.
Enter the name of the seating layout (Restaurant seating layout).
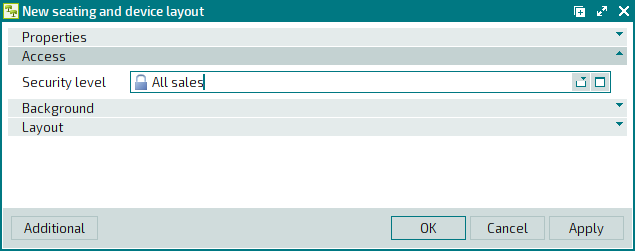
The security level on the Access panel is inherited from the system settings. To change it, open the selection window from the Security level field and select another value (All sales).
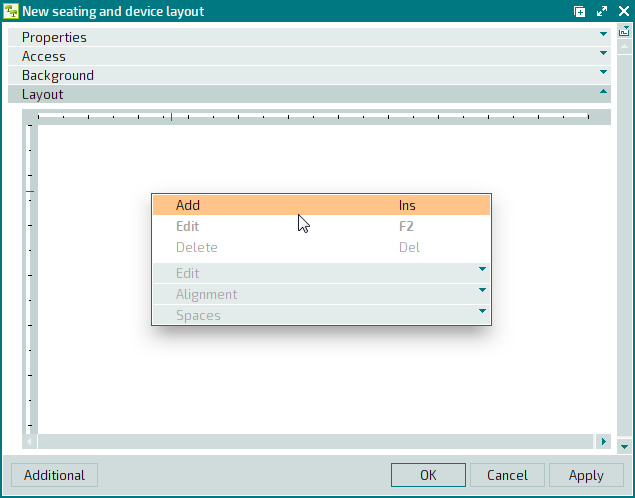
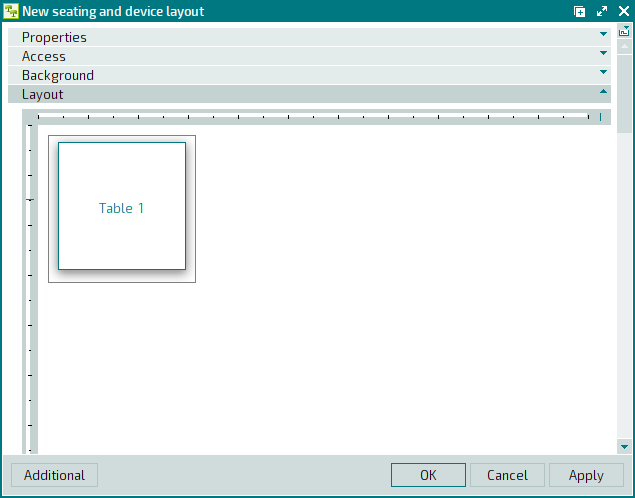
Click on the Layout panel to expand it. You need to add the image of the table (Table 1) to this panel.
Select the command from the context menu.
This will open an entry window for a new element on the seating layout. Fill out the required fields in the Properties panel.
In the Element type field, leave the default value (Table).
Open the selection window from the Name field and choose a value (Table 1) from the data grid.
Save data by pressing .
Save the data by pressing or . This will add the table to the directory.