- 1 How to set up a free employee meal system
- 2 Add a menu item
- 3 Add a price schedule
- 4 Add a day type
- 5 Add an auto-order
- 6 Add a division
- 7 Configure a promotion type for employee meals
- 8 Add a sales setting
- 9 Add a payment setting
- 10 Add a POS terminal
- 11 Set up ticket printing
- 12 Create IDs for employees
- 13 Add employees to the list of regular customers
© Tillypad 2008-2014
At this stage, create an ID group and add the IDs that employees will use to get their free meals to this group.
To add an ID group, select the command from the context menu of the directory. An entry window will open. Fill out the fields in the Properties panel.
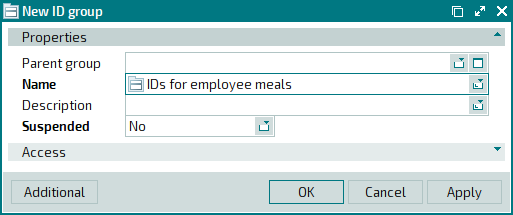
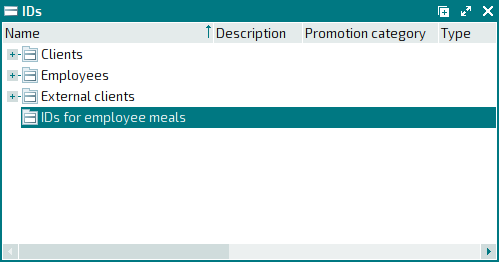
Press . The entry window will close, and the new regular customer group will be added to the directory.
To speed up the creation of a large number of IDs, use the sequential entry feature. To do so, add the ID reader to the device specification for the computer on which Tillypad XL Manager has been launched.
In the directory, select the desired computer and open the computer editor window by using the command. Then click on the Input devices panel to expand it. To add a new input device to the computer specification, select the command. An entry window will open. Fill out the fields in the Properties panel.
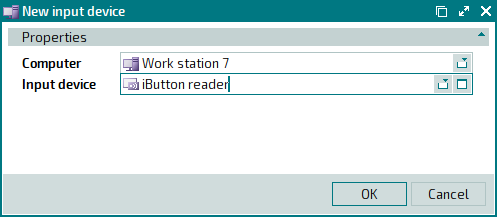
Press . The entry window will close, and the new input device will be added to the computer specification.
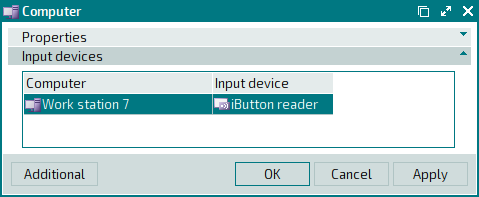
To close the editor window and save your changes, press .
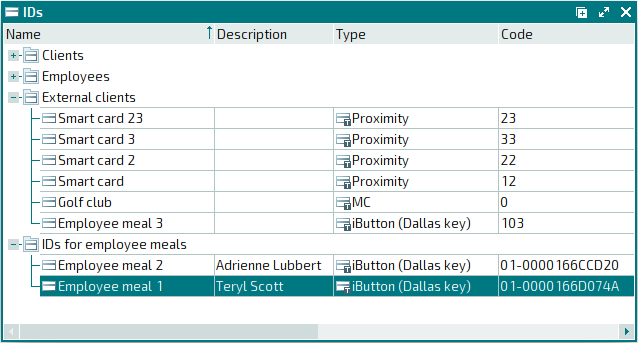
To add the IDs that will be used by employees to receive free meals, select the command from the directory context menu.
This will open the window. Fill out the fields in the Properties panel.
Select the Code field and read the ID code using the input device.
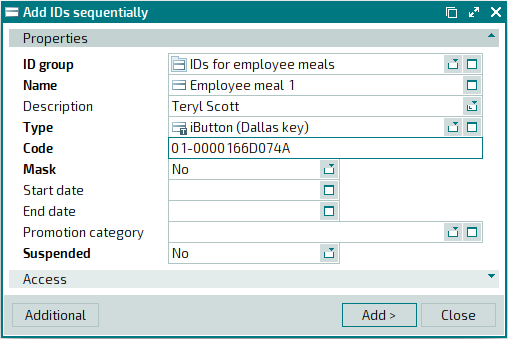
To add an ID to the directory, press the button. The program will open another entry window and wait for you to add the next ID. After all necessary IDs have been added, press the button. The sequential entry window will close, and all IDs will be added to the directory.