- 1 How to set up a free employee meal system
- 2 Add a menu item
- 3 Add a price schedule
- 4 Add a day type
- 5 Add an auto-order
- 6 Add a division
- 7 Configure a promotion type for employee meals
- 8 Add a sales setting
- 9 Add a payment setting
- 10 Add a POS terminal
- 11 Set up ticket printing
- 12 Create IDs for employees
- 13 Add employees to the list of regular customers
© Tillypad 2008-2014
At this stage, you need to set up the promotion type to which the cafeteria will belong. Employees will be provided with three meals daily. In our example, each employee can receive one breakfast, lunch and dinner per day when he/she presents his/her ID.
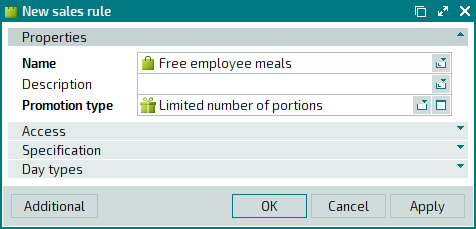
Creating a promotion type
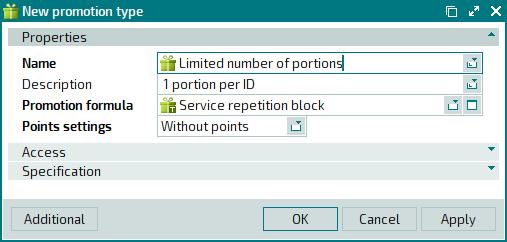
Add a new promotion type called Limit number of portions to the
directory. To add a promotion type, select the command from the context menu of the directory. An entry window will open. Fill out the fields in the Properties panel.
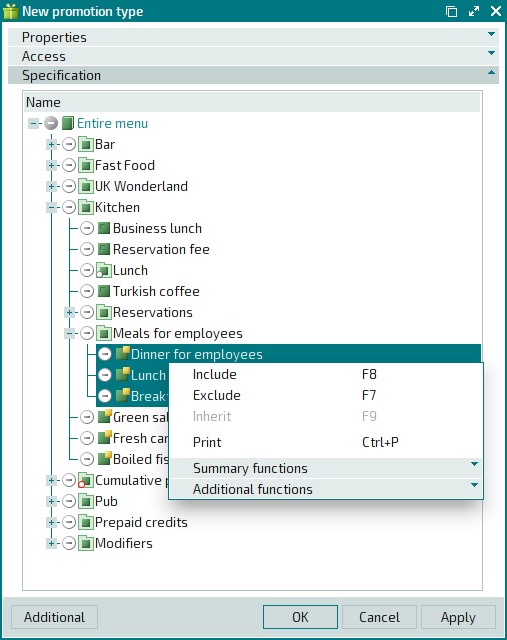
Click on the Specification panel to expand it. Select the menu items Breakfast for employees, Lunch for employees and Dinner for employees to be added to this promotion type. Select the command from the context menu.
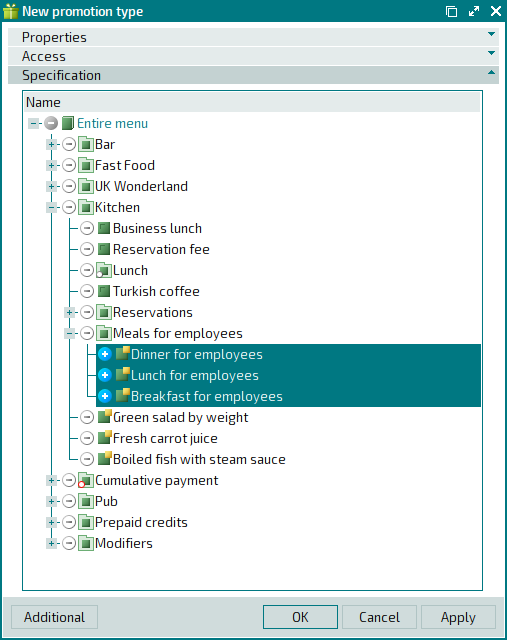
The selected menu items are now marked as being used by the promotion type.
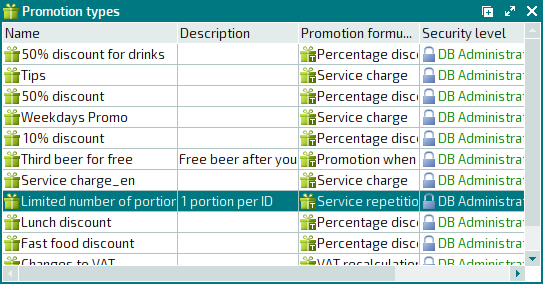
Press . The entry window will close, and the new promotion type will be added to the directory.
Creating a promotion category
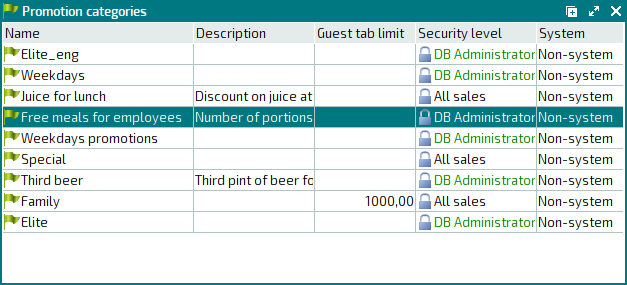
Add a new promotion category called Free meals for employees to the
directory. To add a promotion type, select the command from the context menu of the directory. An entry window will open. Fill out the fields in the Properties panel.
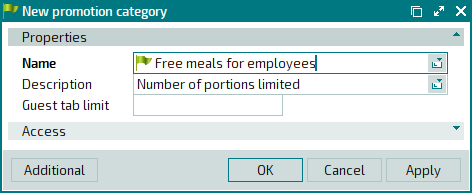
Press . The entry window will close, and the new promotion category will be added to the directory.
Configuring a promotion category for the division
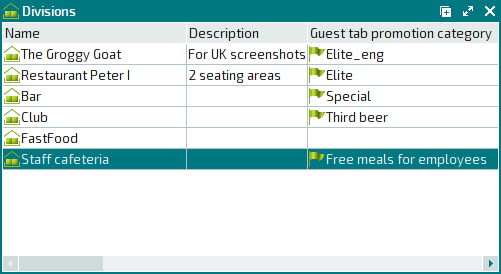
To set up the promotion category so that it is automatically assigned to all guest tabs in the division, select the command from the . In the editor window, select the Free meals for employees promotion category from the Guest tab promotion category field on the Properties panel.
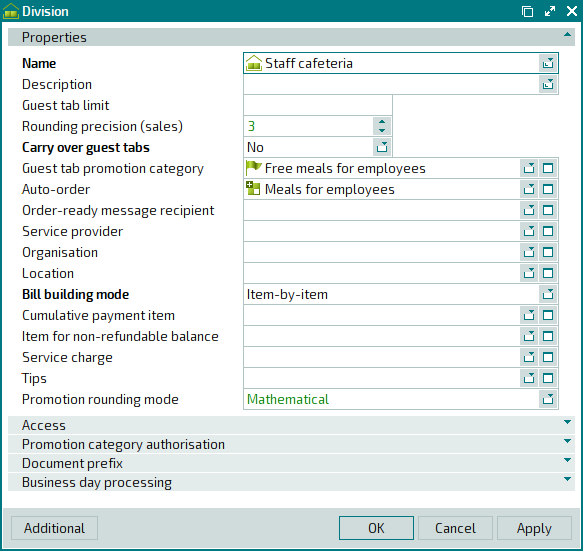
Press . The editor window will close, and the division attributes will be updated.
Creating a sales rule
Add a new sales rule called Free meals for employees to the
directory. To add a sales rule, select the command from the context menu of the directory. An entry window will open. Fill out the fields in the Properties panel.
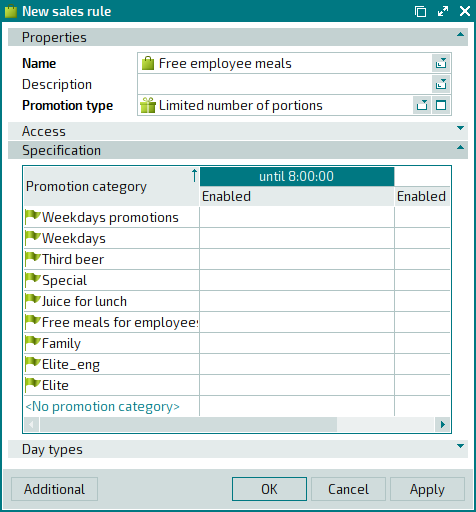
Click on the Specification panel to expand it. You need to create a schedule for the sales rule in the specification. This rule must apply during breakfast (from 8:00 to 10:00), lunch (from 12:00 to 16:00), and dinner (from 18:00 to 20:00). To add a new interval to the sales rule schedule, select the command from the menu. In the entry window, the new interval begins at the start of the business day by default. Enter 08:00 as the end of the interval.
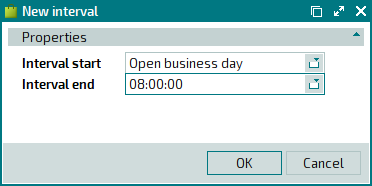
Press . The entry window will close, and the new interval will be added to the price schedule.
Add other intervals to the sales rule schedule.
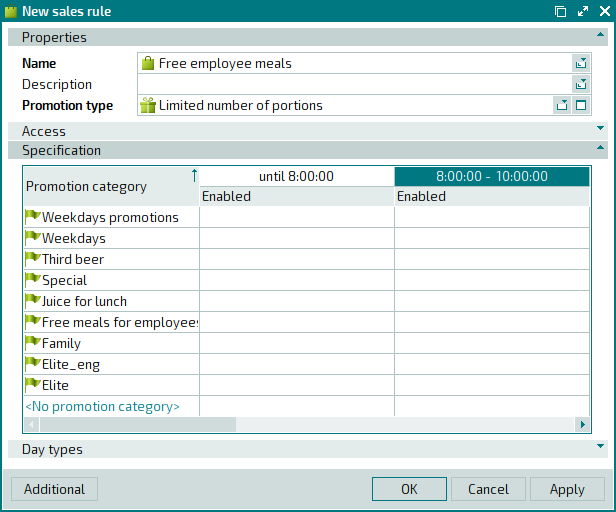
Add the Free meals for employees promotion category to the list of applied promotion categories from 8 to 10, from 12 to 16, and from 18 to 20.

As a result, the Free meals for employees sales rule will use the Free meals for employees promotion category from 8 to 10, from 12 to 16, and from 18 to 20.
Click on the
Day types
panel to expand it, and add the Weekday day type to the data grid.
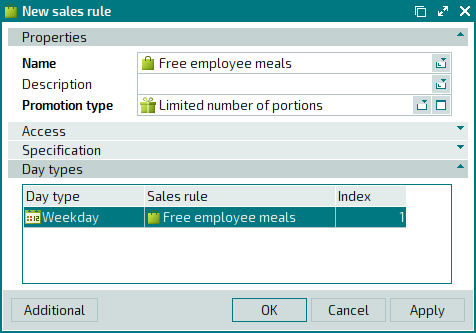
The Free meals for employees sales rule will now apply on weekdays only.
Press . The entry window will close, and the new sales rule will be added to the directory.

Creating a day type setting
The next step is to add the Weekday day type to the day type setting for the Staff cafeteria division.
Open the
, and add the Weekday day types for each working day of the week. All these days will start at 0 hours (12 a.m.).
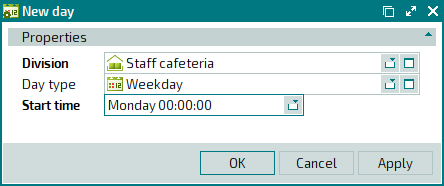
Press . The entry window will close, and the start and end dates for the weekday (Monday) will be saved in the settings directory.
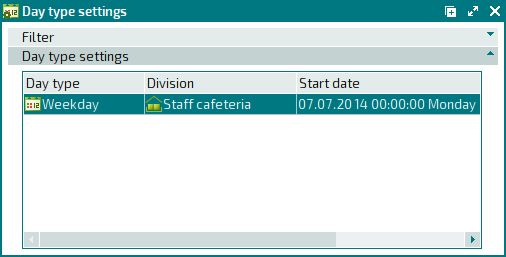
Add the remaining weekdays to the day type setting.
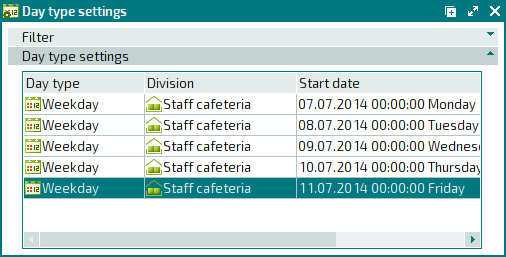
Now you have set up the days when free meals are to be provided to employees in the Staff cafeteria division.