
© Tillypad, 2008-2015
Windows used to manage receipts:
All of these windows are opened from the data grid of the receipts list.
You can open the editor window by using the command. In this window, you can edit one or more receipts.
If one receipt is selected in the data grid, the editor window opens.
The editor window is composed of the Properties , Sales specification , and Payment specification panels.
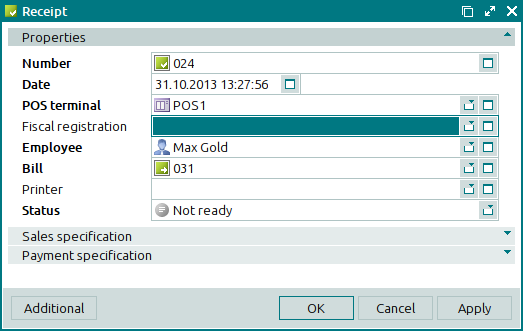
The Properties panel is composed of the following fields:
Number is the number of the receipt. This is a required field.
The number can be generated automatically or entered manually. The number is automatically generated when you open the window or press the selection button in the Number field. Automatic numbers are generated using the template specified in the directory.
Date indicates the date and time when the receipt was created. This is a required field.
POS terminal denotes the POS terminal on which the receipt was created. This is a required field.
Fiscal registration is the fiscal registration that was performed during payment.
Employee is the employee who created the receipt. This is a required field.
Bill indicates the bill, the specification items of which are paid for by the receipt. This is a required field.
Please select a bill in the window. The specification items of the selected bill can be added to the receipt sales specification.
Printer is the device on which the non-fiscal receipt is printed.
Status is the status of the receipt. This is a required field.
Please select one of the following options: Not ready, Ready, Paid, Deleting.
Click to save data. Selecting will save data without closing the window. Selecting will close the window without saving data.
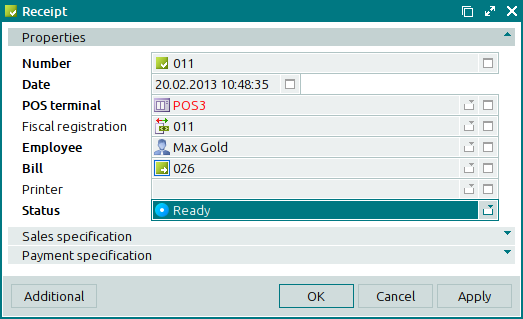
If the receipt has the status of Ready, Paid, or Deleting, the only thing you can change in this receipt is its status. All fields in the editor window except for the Status field become read-only:
The multiple receipts editor window opens if two or more entries are selected in the data grid. The name of the window changes to , and a panel with a list of the selected items is added to the window.
If the status of at least one of the selected receipts is different from Not ready, you will only be able to change the status in this window.
The panels and fields are similar to those in the editor window.
The entry window allows you to add one or more new receipts to the document list.
You can open the entry window by using the command or by pasting one receipt from the clipboard.
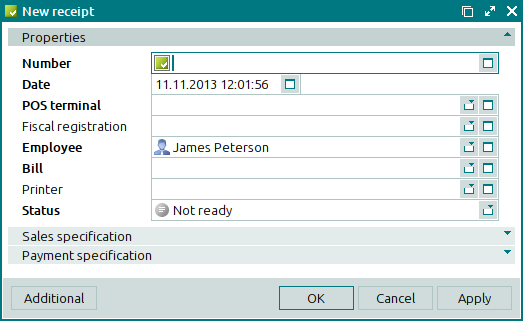
The panels and fields are similar to those in the editor window.
The window opens when two or more receipts are pasted from the clipboard to the directory. The window displays a panel with a list of the selected receipts from the clipboard.
The panels and fields are similar to those in the editor window.