- Licensing system
- Cumulative payment
- VAT in the sales system
- Discounts and rounding modes
- Comments in the guest tab
- Changes in the menu
- Inheriting security level
- Reports and printing
- Update packages and Import
- System settings
- Changes in the Tillypad XL Manager directories
- Changes in the Tillypad XL Manager interface
- New interface of Tillypad XL POS
- POS screen buttons, button function settings
- Printing on the POS terminal
- Parameters of POS modes
- Restricted operations on POS terminal
- Miscellaneous changes for POS
- System installation
- Changes made to mobile device operation
© Tillypad 2008-2014
Update packages
No. 45213
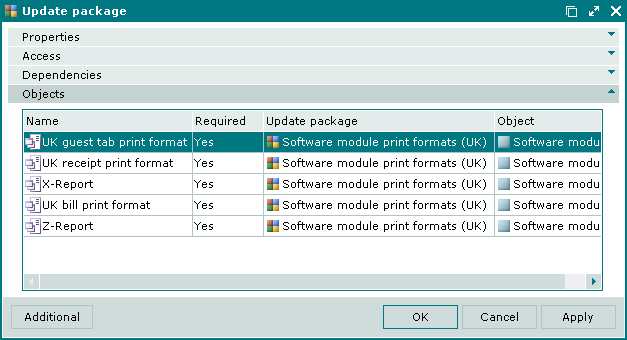
There are required and optional objects in the update packages. The required objects are always imported to the database, whereas the optional objects are imported only if they do not yet exist in the database. This ensures that the required objects are imported when installing the system.
The Required column was added to the data grid of the update package object specification. It displays one single value, Yes, specified for required objects of the package.
No. 45369
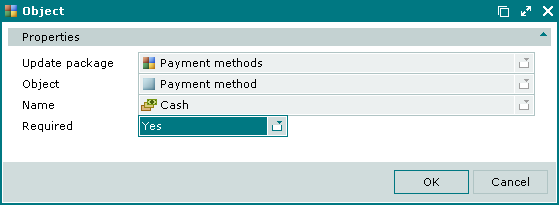
The Required field was added to object window. It can have two values: Yes and No.
Import objects from file
No. 48086
The command was added to the menu.
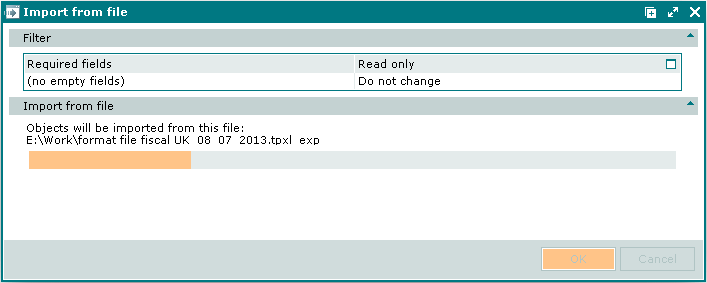
You can only import files in the .tpxl_exp format, i.e. the ones created when exporting objects from Tillypad XL Manager.
When you import from file, you might need to do one or more steps in the Wizard. Then you will need to fill in required fields to match imported objects with the objects of the current database.
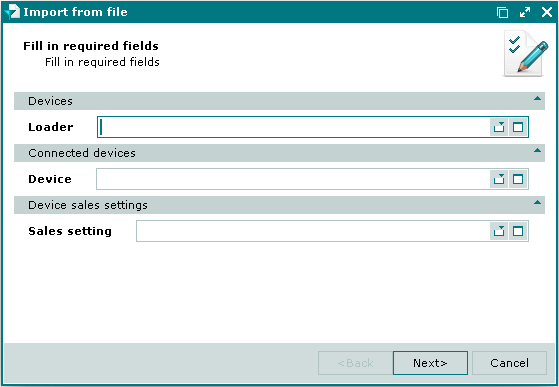
When transferring objects you need to specify which values of the System attribute must be assigned to them in the current database.

After you have selected required values in all Wizard steps, the import operation window is opened. The progress of the operation is shown on the progress indicator bar.
If an error occurs when you import objects to Tillypad XL Manager, the operation is not aborted, it simply moves to the import of the next object.
After the import is finished, a window opens displaying its results. The table contains the list of objects added to the database.
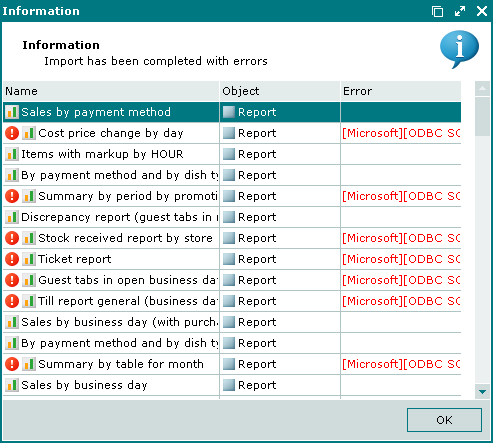
If an object could not be imported, the error message is displayed in red. You can read the error message using the (F2) command in the context menu.