- Licensing system
- Cumulative payment
- VAT in the sales system
- Discounts and rounding modes
- Comments in the guest tab
- Changes in the menu
- Inheriting security level
- Reports and printing
- Update packages and Import
- System settings
- Changes in the Tillypad XL Manager directories
- Changes in the Tillypad XL Manager interface
- New interface of Tillypad XL POS
- POS screen buttons, button function settings
- Printing on the POS terminal
- Parameters of POS modes
- Restricted operations on POS terminal
- Miscellaneous changes for POS
- System installation
- Changes made to mobile device operation
© Tillypad 2008-2014
The button can now be assigned different functions.
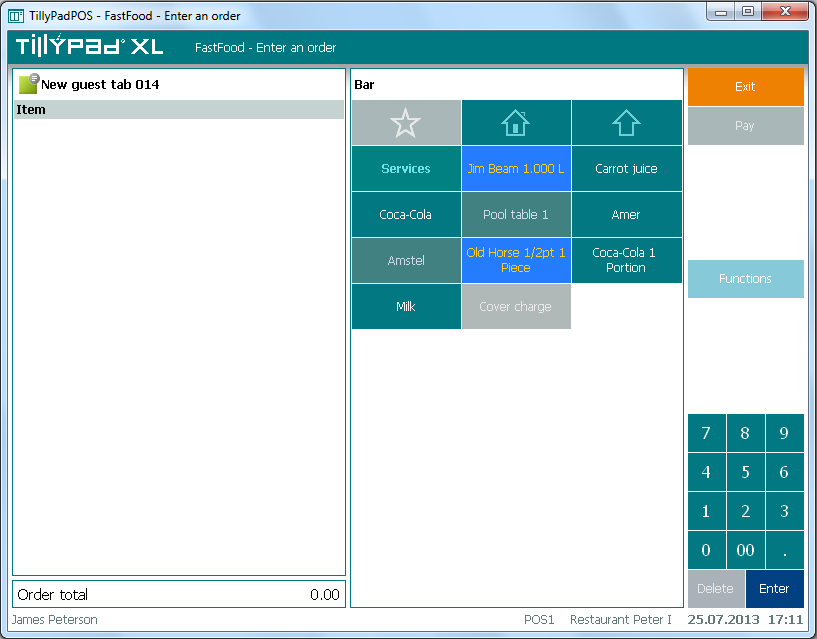
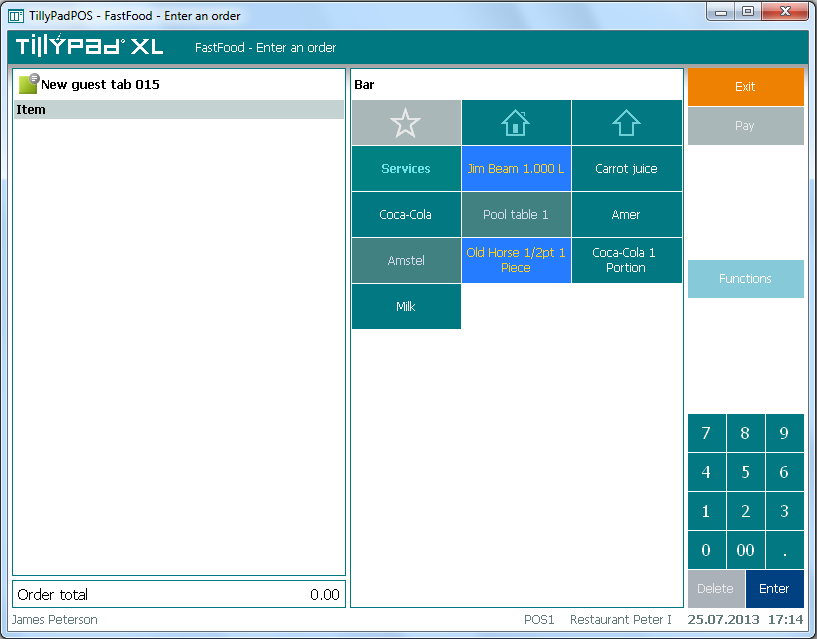
Navigation buttons were added to the menu on the POS terminal. Using these navigation buttons you can go to the:
Modes for displaying selection buttons on the POS terminal were added for menu items and menu groups excluded from sale.
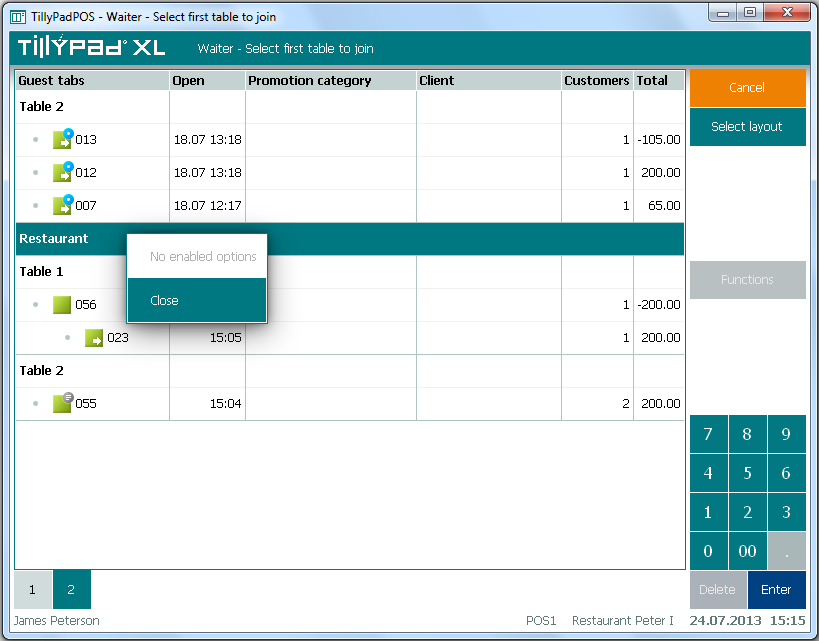
The Functions button now always has a context menu.
Shut down terminal button
No. 41058
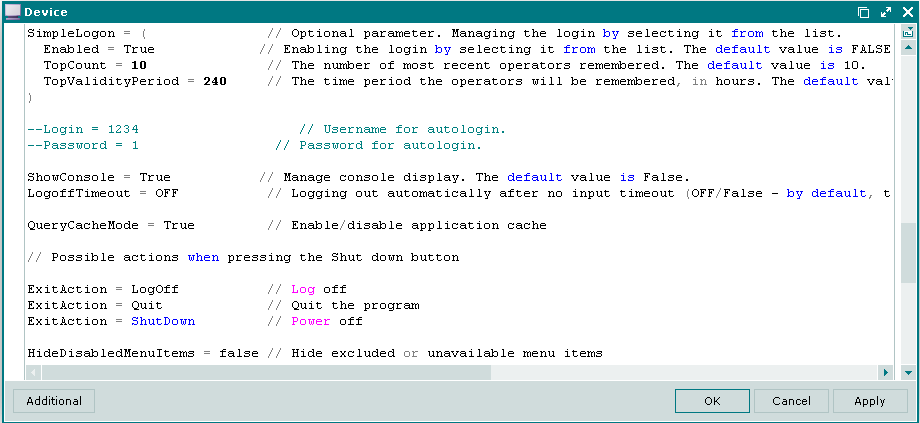
You can assign different functions to the button using the ExitAction parameter for the TilllypadPOS software module or the POS device.
Shut down terminal options:
ExitAction = Logofflogs out the user;ExitAction = Quitexits the program;ExitAction = Shutdownswitches off the computer.
You can configure button functions on the Parameters panel in the TillypadPOS software module window or the controlled POS terminal device window.
If two or three parameters are set, the user can select a desirable option in the dialogue box, which appears after clicking the button. The following dialogue box will be displayed:
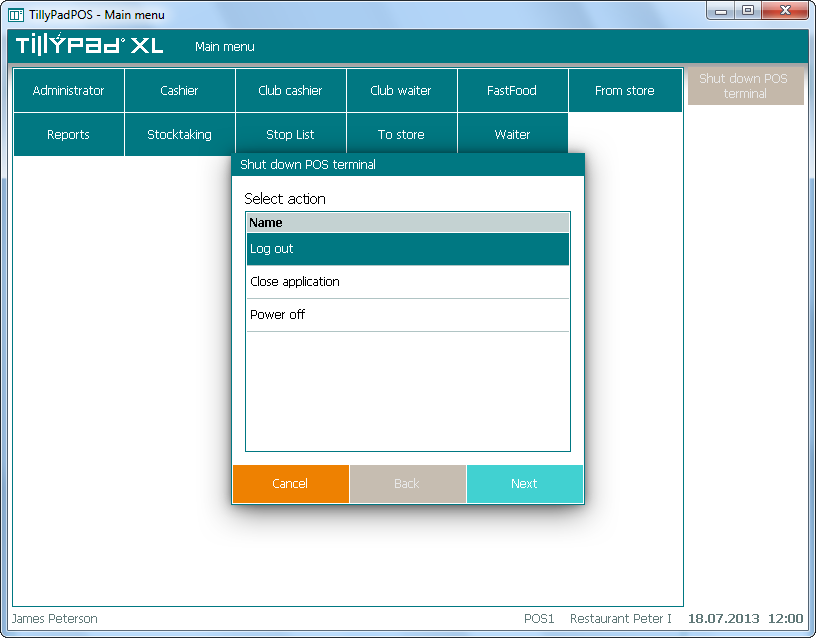
If no settings are configured, the button is not displayed on the screen.
Navigation buttons in the Menu
No. 45011
The functions of the , , navigation buttons were changed in the menu on the POS terminal.

The button behavior depends on the settings of the source and root menu groups specified for the POS terminal in the directory.
Navigation button functionality:
is hidden if the source group is not specified or if the source group is specified, but it does not belong to the root group directly or within another group.
is inactive
 if the source group itself is selected.
is active
 if the source group is specified and belongs to the root group.
 After you press the button, the source group will be selected.
is inactive
 if the root group is selected.
is active
 if:
if: a group is selected that belongs to the root group directly or within another group.
After you press the button, the parent group of the current group will be selected.
a source group is selected that belongs to the root group directly or within another group.
After you press the button, the root group will be selected.
 if the
  if a group is selected that belongs to the root group directly or within another group, and also if a
 No. 49850
You can hide or disable inactive navigation buttons. To do so, please use the MenuNavigationButtonsInactiveMode parameter of the POS terminal operation mode. To hide an inactive navigation button, the parameter must be assigned the Hide value, to make it visible – the Disabled value. The parameter is used in the following POS terminal operation modes: , , , , , and .
No. 45011
Navigation buttons in the Menu
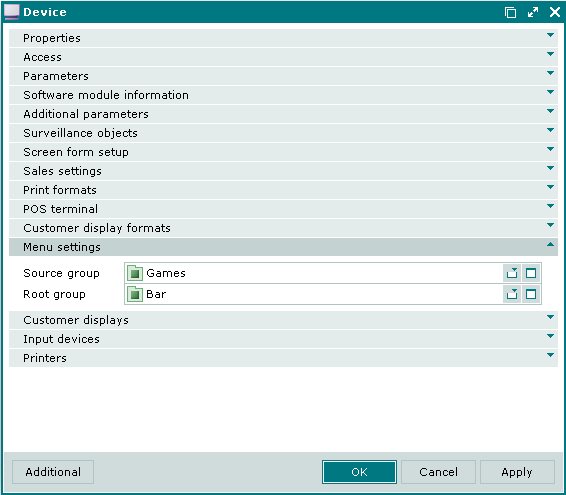
In the POS device window, on the Menu settings panel, the user can specify menu groups that can be accessed by pressing navigation buttons on the POS terminal.
Source group is a menu group that is opened by default when you start Tillypad XL POS. This group usually contains the most popular menu items (favourite menu items and groups).
The source group does not need to belong to the root group. You do not need to specify the root group.
Root group is a menu group combining all menu items and groups that can be selected on this POS terminal.
If the root group is not specified, all menu items and groups are available for selection.
Assigning the Select report, Seating layout, and Special functions to the buttons
No. 44832, 44984, 49004
Now you can assign report selection and seating layout selection functions to the buttons in the design window of the software module screen form.
Necessary settings are made on the Software module screen form design panel of the window.

Necessary settings are made on the Software module screen form design panel of the window.
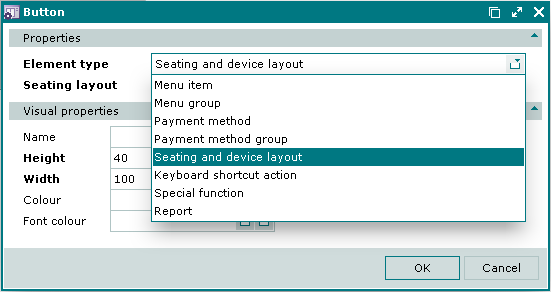
This setting allows you to select a seating layout by pressing the button in the operating mode.
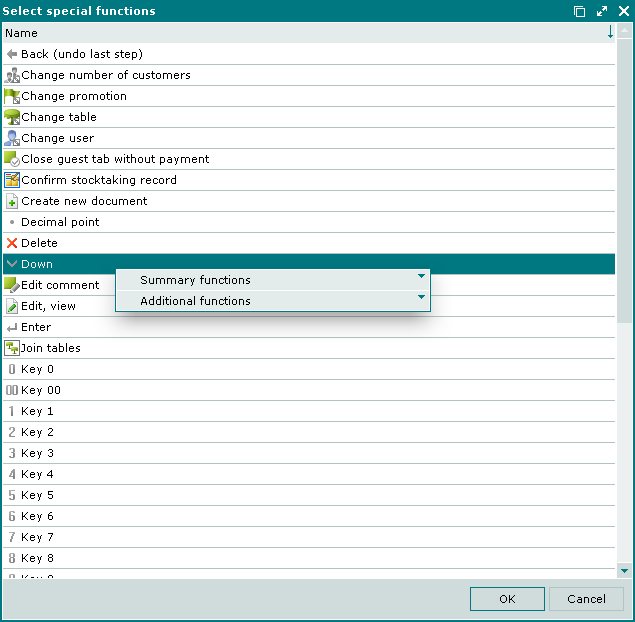
No. 48983
All functions available on the POS terminal were added to the selection window list.
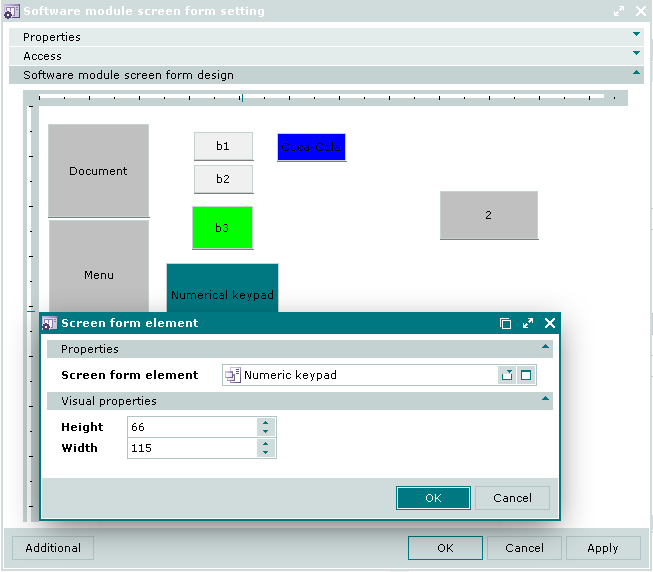
No. 48428
Visual properties of the screen form element
The Visual properties panel was added to the screen form element window.
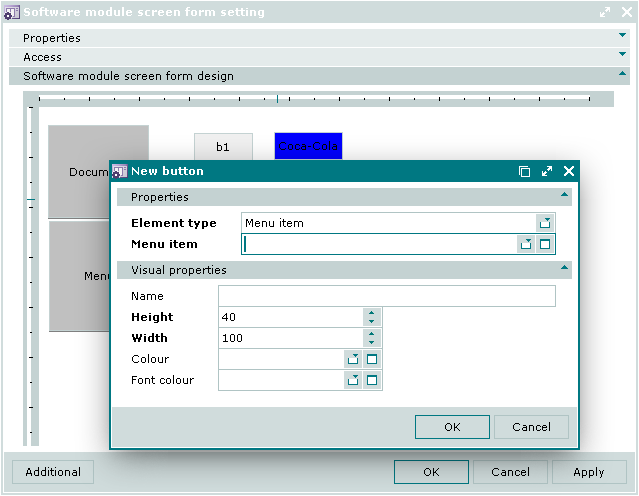
No. 48052
Visual properties of the button
You can now edit the name, colour, and size (height and width) of the screen form button
These settings are made on the Visual properties panel in the button entry or editor window.
No. 44352, 45037, 45674
Button display features on the POS screen for menu items and menu groups excluded from sale
We formulated principles of displaying buttons on the POS screen to denote menu items and menu groups excluded from sale.
If a menu item is assigned to any button on the screen form layout, this button is always available. However, if this item is temporarily not for sale (for example, out of stock), the button becomes disabled. If you do not want this button to be displayed at all, it can be hidden.
The button also becomes disabled in the list (either in button or table displaying mode) if the corresponding menu item or menu group is excluded from sale.
To determine when to make buttons disabled or hide them, the HideDisabledMenuItems parameter was added to the settings of service devices (POS terminal, PDA server).
Possible values: True, False (the default value is True).
HideDisabledMenuItems = True // Hide excluded or unavailable menu items
If False is set, buttons are disabled.
If True is selected, buttons are hidden.
Functions button menu
No. 47536
If no functions are available, the data grid context menu or the button menu is still opened and contains the following options: and .